
 Do you want to learn how to make your own patterns and make clothes that fit you just how you want? You’re in the right place.
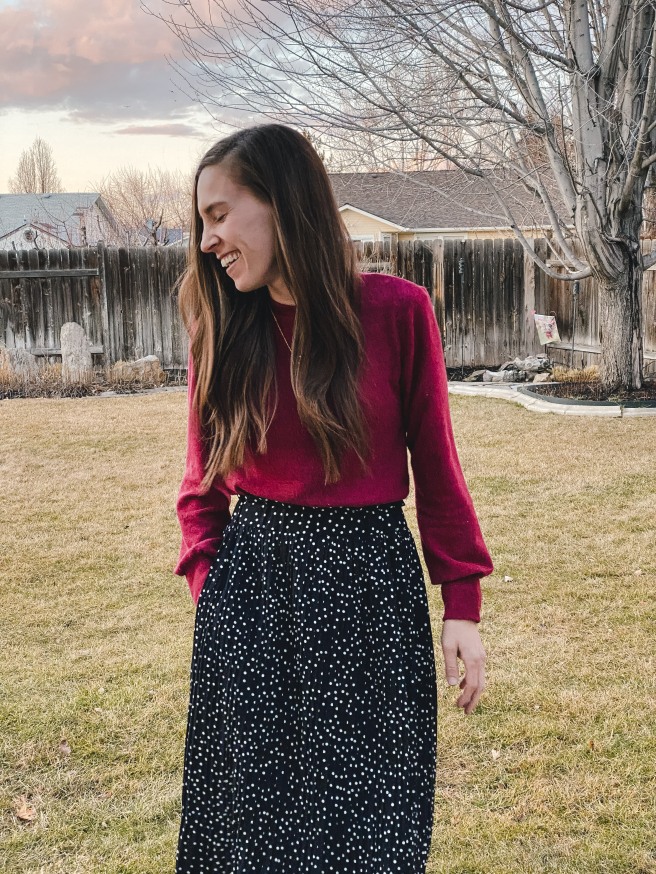
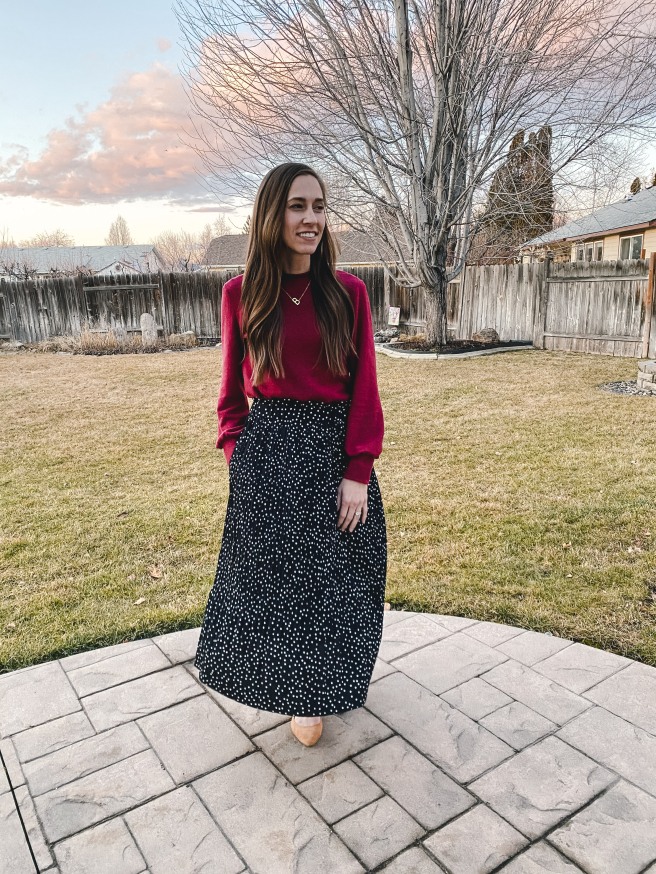
I recently made this top and showed the process on my instagram stories. (@britt.stitch) It’s saved in a highlight bubble if you’re interested in seeing the whole process. It won’t be as thorough here.
Making your own pattern from clothing you own is a pretty simple concept and just takes a little practice to get it right. The basic idea is to follow the outline of your clothing adding room for a seam allowance. And adding or subtracting to make it fit how you want of course!
This time around I’m using a knit jersey with a 4-way stretch. It’s perfect for a first timer because this will be very forgiving if you don’t get measurements just right. Let’s get into it.
STEP 1: the first thing I need is clothes from my closet. My inspiration for this top is a loose-fitting shirt with baggy sleeves and a longer wrist cuff. I decided I wanted the neckline to fit like a t-shirt style right up to my neck but not a mock neck. So today I found in my closet a t-shirt that fits me well and has the neckline I want and the body is a good fit so I’ll use that too. My sleeve at the shoulder is also going to fit just like this t-shirt (no gathering at the top of the sleeve) except I’ll be making it long and baggy so I can also use the sleeve opening from this shirt as my pattern.
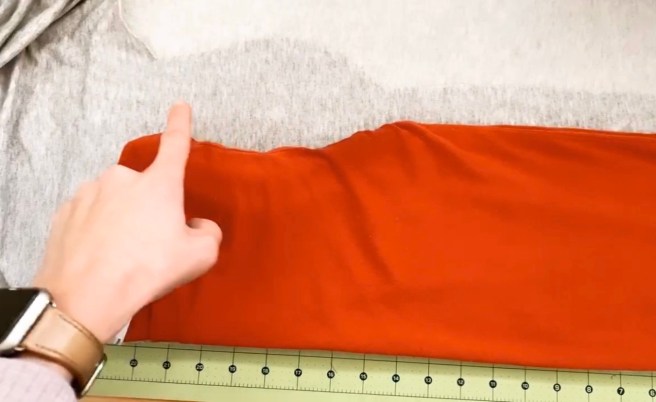
STEP 2: with my fabric folded, I will fold my shirt in half and lay it on top of my fabric, matching up the folds. I will tuck in the sleeves so that I can clearly see the line around the shoulder opening and cut around my shirt giving myself about 1/2″ seam allowance. Do this to the front and the back.
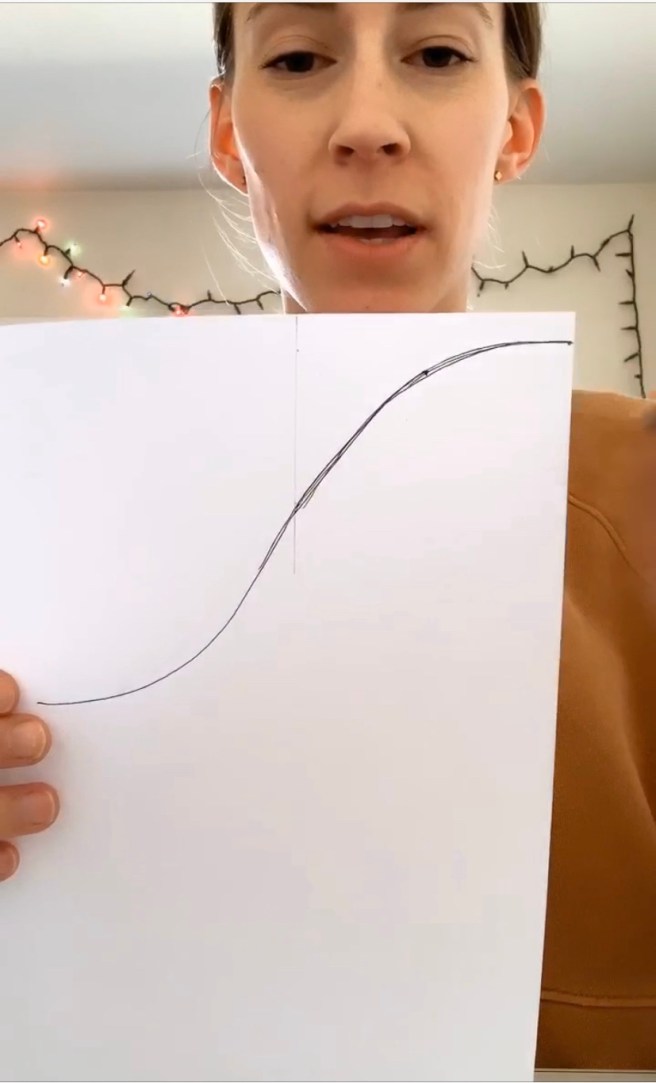
STEP 3: cutting out the sleeves can feel tricky but it’s all about math here. I’ll first measure the curve of my front and back sleeve openings. Add those two measurements and subtract 1/2″. Now I’ll sketch the sleeve top, which looks like a bell shape. This curve measurement will match the measurement of the sleeve opening. (I do this part on paper so I can then take it to the fabric and cut it out) Then I’ll cut this curve on my fabric. Just to recap:
front sleeve opening + back sleeve opening – 1/2″ = curve of the bell shape pattern measurement
Now I’ll line up my ruler with the point where the bell shape ends and cut it straight down the side, parallel to the fold, ending where I want my sleeve to end and the cuff to begin.
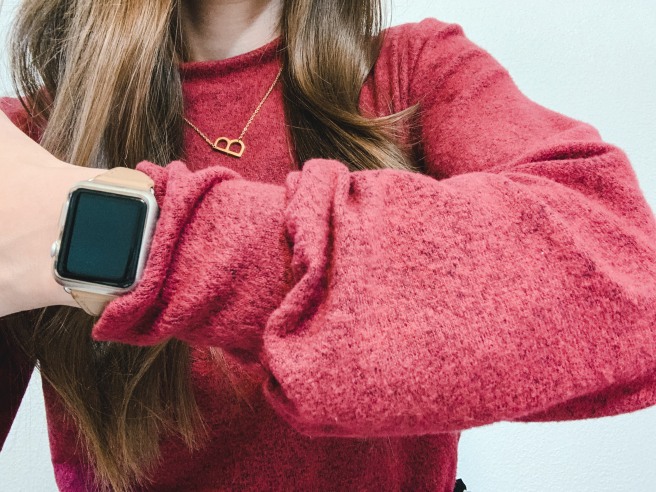
STEP 4: I measure my wrists and figure how wide and tall I want that cuff to be. I’ll cut that out making sure to double the height and add seam allowance so that it can fold in half. The cuff will be two layers of fabric.
STEP 5: time to sew in this order:
- shoulder seams
- attach sleeves
- sew up sides of body and sleeves
- sew wrist cuffs first up the width, then folding it into a cuff right sides out I’ll slide it into the sleeve (wrong side out) and pin the sleeve to the cuff. I should be pinning three layers of fabric together here. sew around.
- hem bottom of shirt.
STEP 6: Neckline. When sewing with stretch knits the band should be smaller than the actual neckline. If it’s the same size it will not lay flat, it will stick out or up or whatever and look really really bad. I’ve made this mistake many times. Here is the fix: Measure your neckline and cut the band at 85% of that measurement. Add 1/2″ for seam allowance on the width. And the height to whatever you want it to be. (I cut my’n 2 inches here so folded in half and sewn it came to 3/4″.)
Neckline measurement x 0.85 = band length.
Sew the band together width-wise, and then fold in half height-wise right sides out. Mark the four quarters with pins and quarter the neckline as well and mark with pins. Slide the band inside the neckline (wrong side out) and match up the pins. When sewing the band I stretch the band to fit the neckline in between each of the four pins.

I’ll definitely be making this again or versions of it. How cute would it be in a woven fabric or with a puff sleeve and a mock neck? So many options. Please let me know if you have any questions on this make and follow me on Instagram for the video. 🙂 I appreciate you being here.
Happy sewing,
Britt
